Take look at our

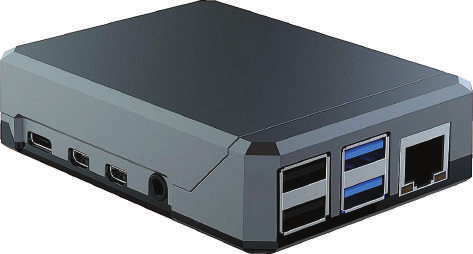
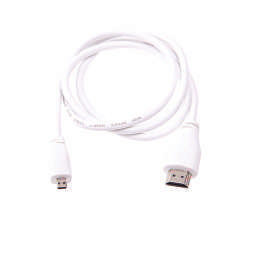
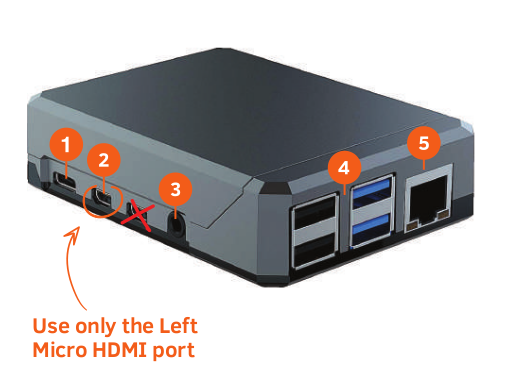
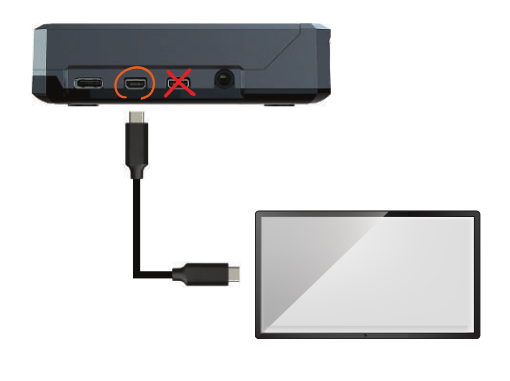
Connect the eMaa Player to your screen with the Micro HDMI cable you found in the package.
Only use the Left Micro HDMI Port on the Player.
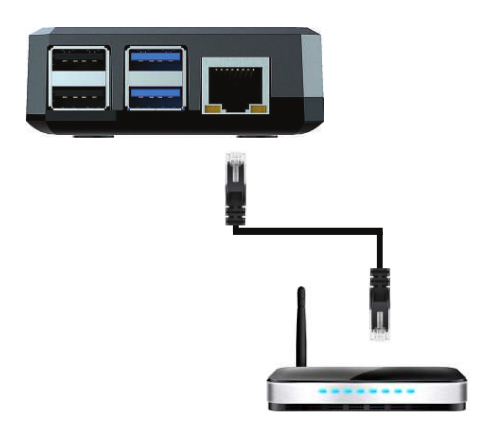
Connect the eMaa Player to your Network by plugging an Ethernet cable (which is not included in the package) into the Ethernet port in the Player.
If you are using a WiFi connection go to section 2b.
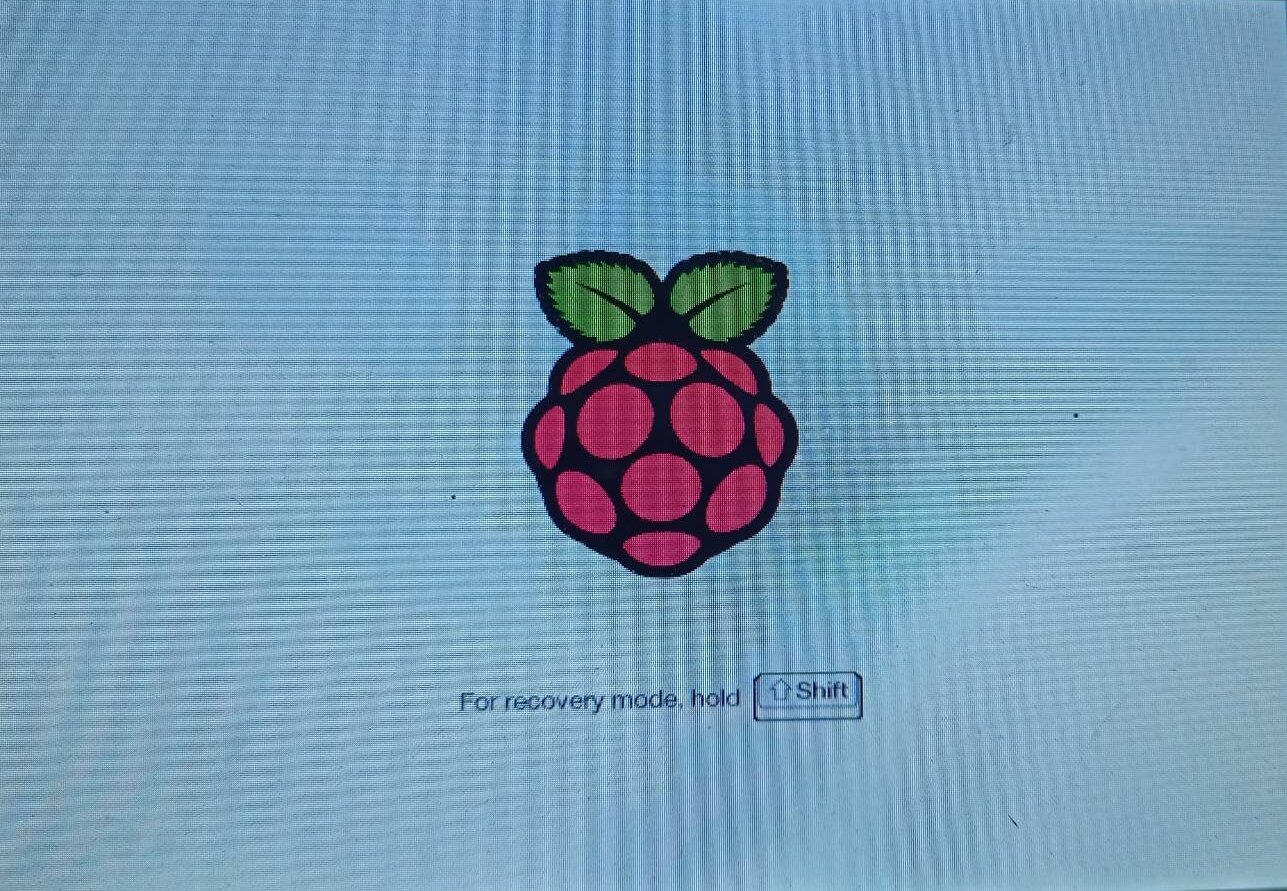
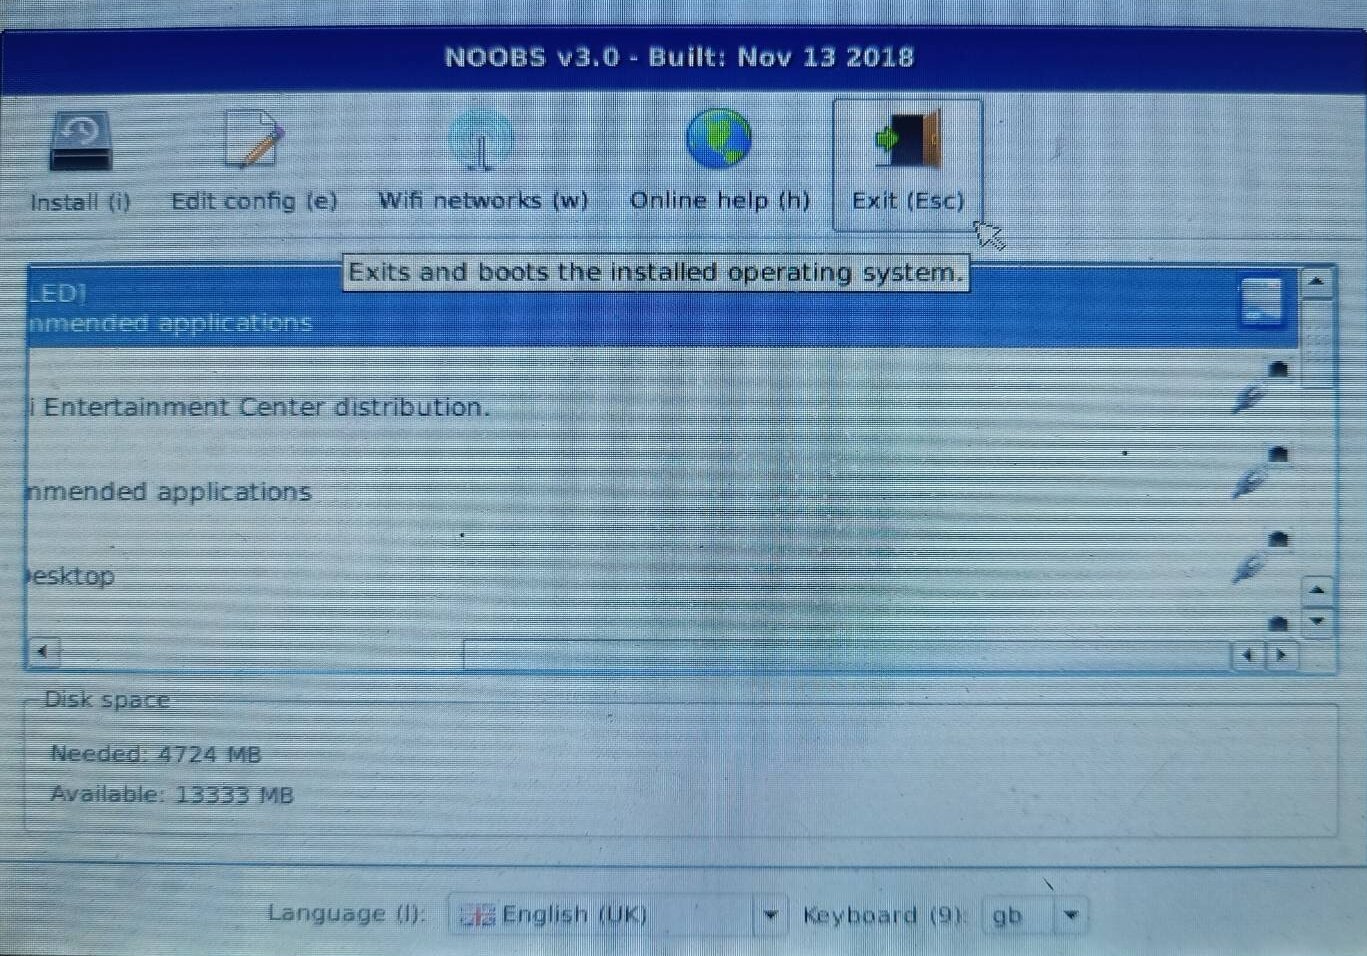
1. On system boot, when see this screen press shift button.
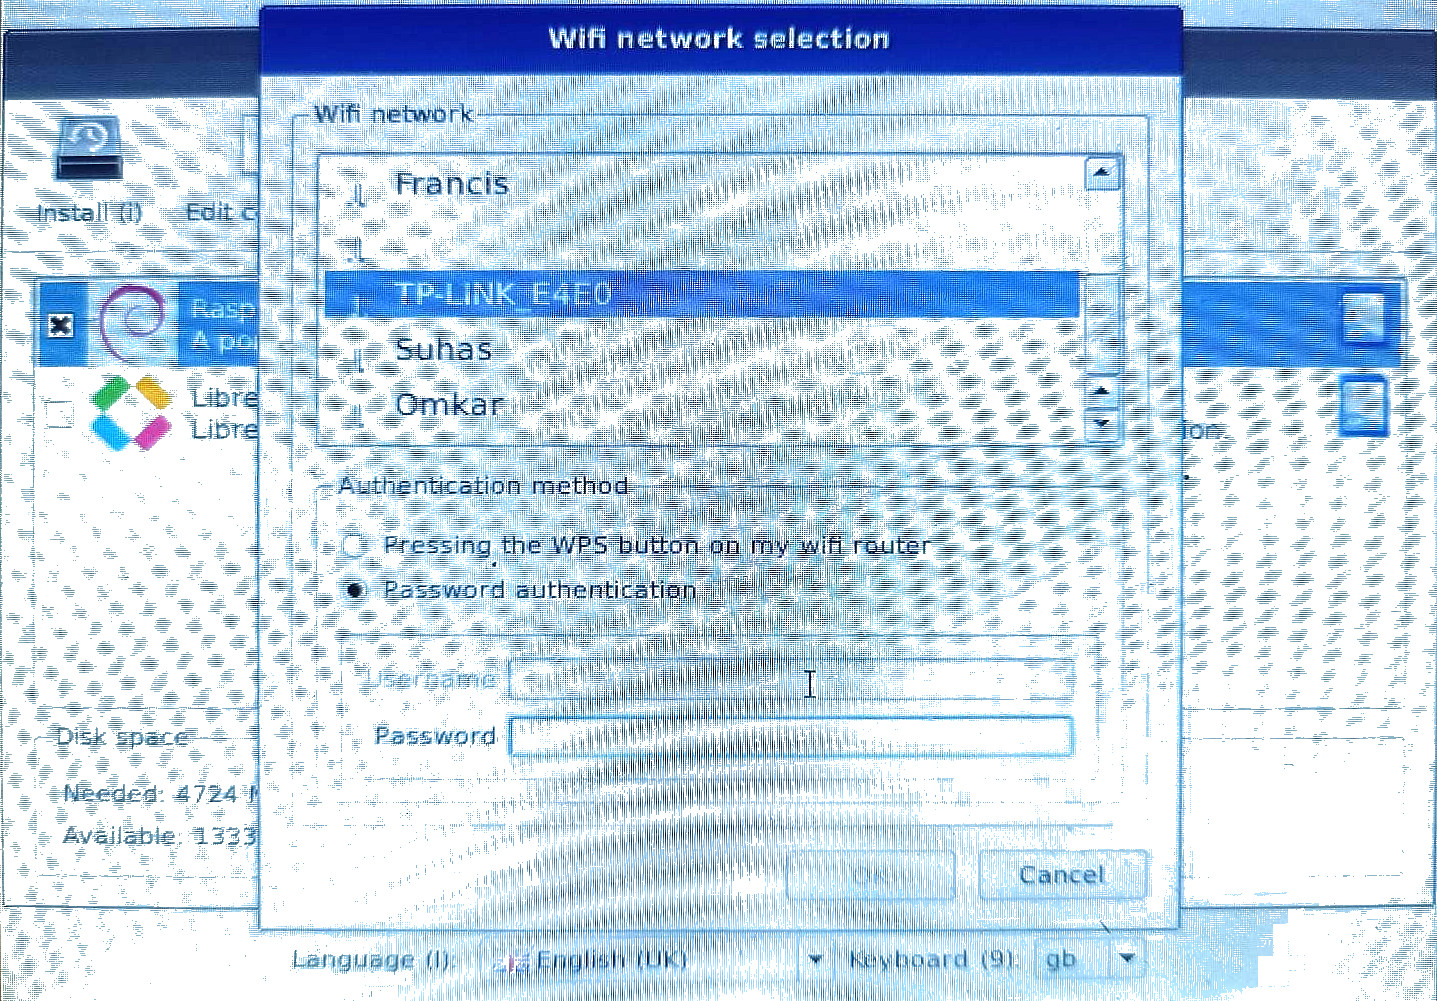
2. After that you will be able to see this screen. Click on wifi network icon.
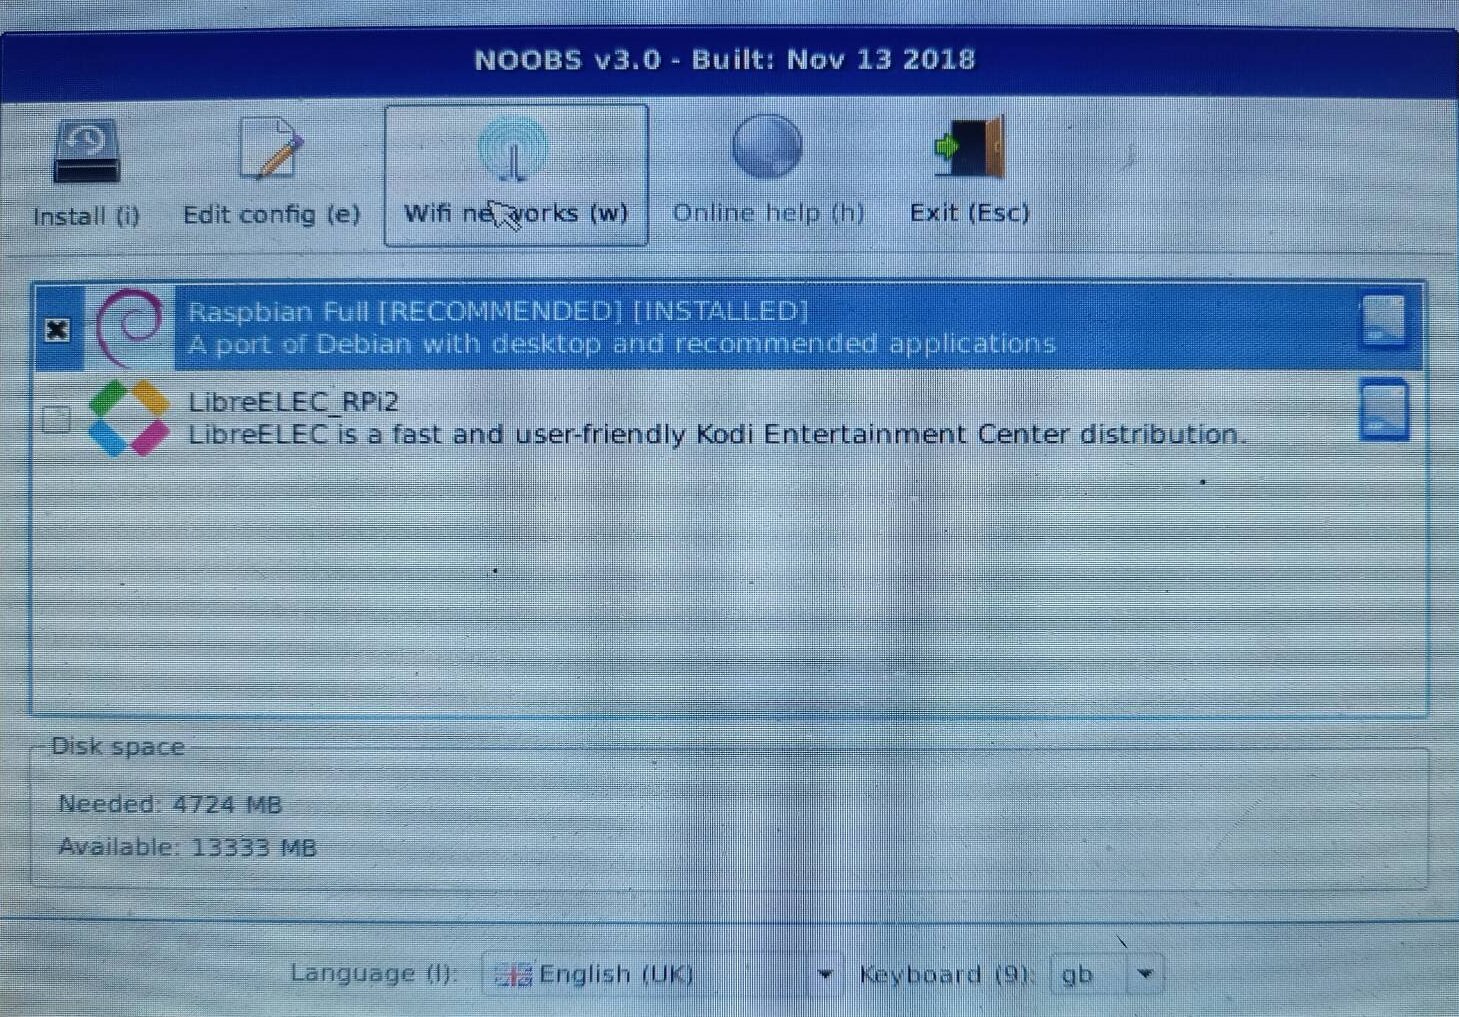
3. Select your wifi name, enter wifi password in password field. Press ok
4. Once wifi successfully connected,
Press exit icon.
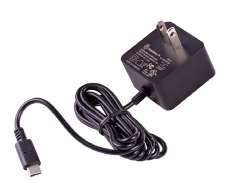
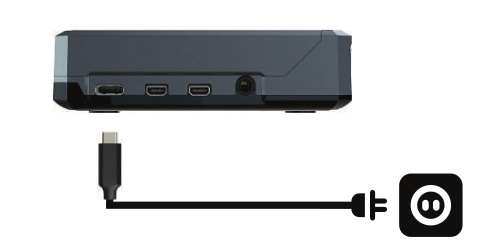
Plug the USB Type-C end of the power adapter cable into the USB Type-C port on the Player and plug the power adapter into a power source.
The Player will start to work automatically.
Reach us at our contact details for getting registered account.
Make sure your screen is on and that the screen input is set to the correct source (e.g. HDMI).
Try using an Ethernet cable instead of WiFi. Or unplug the Ethernet cable, wait 10 minutes and plug it in again
Wait at least 10 minutes before worrying.
Avoid rebooting constantly, it might do more damage than good, just let us know and we will help you out.

